Saturday, January 31, 2015

Renovation Round 3

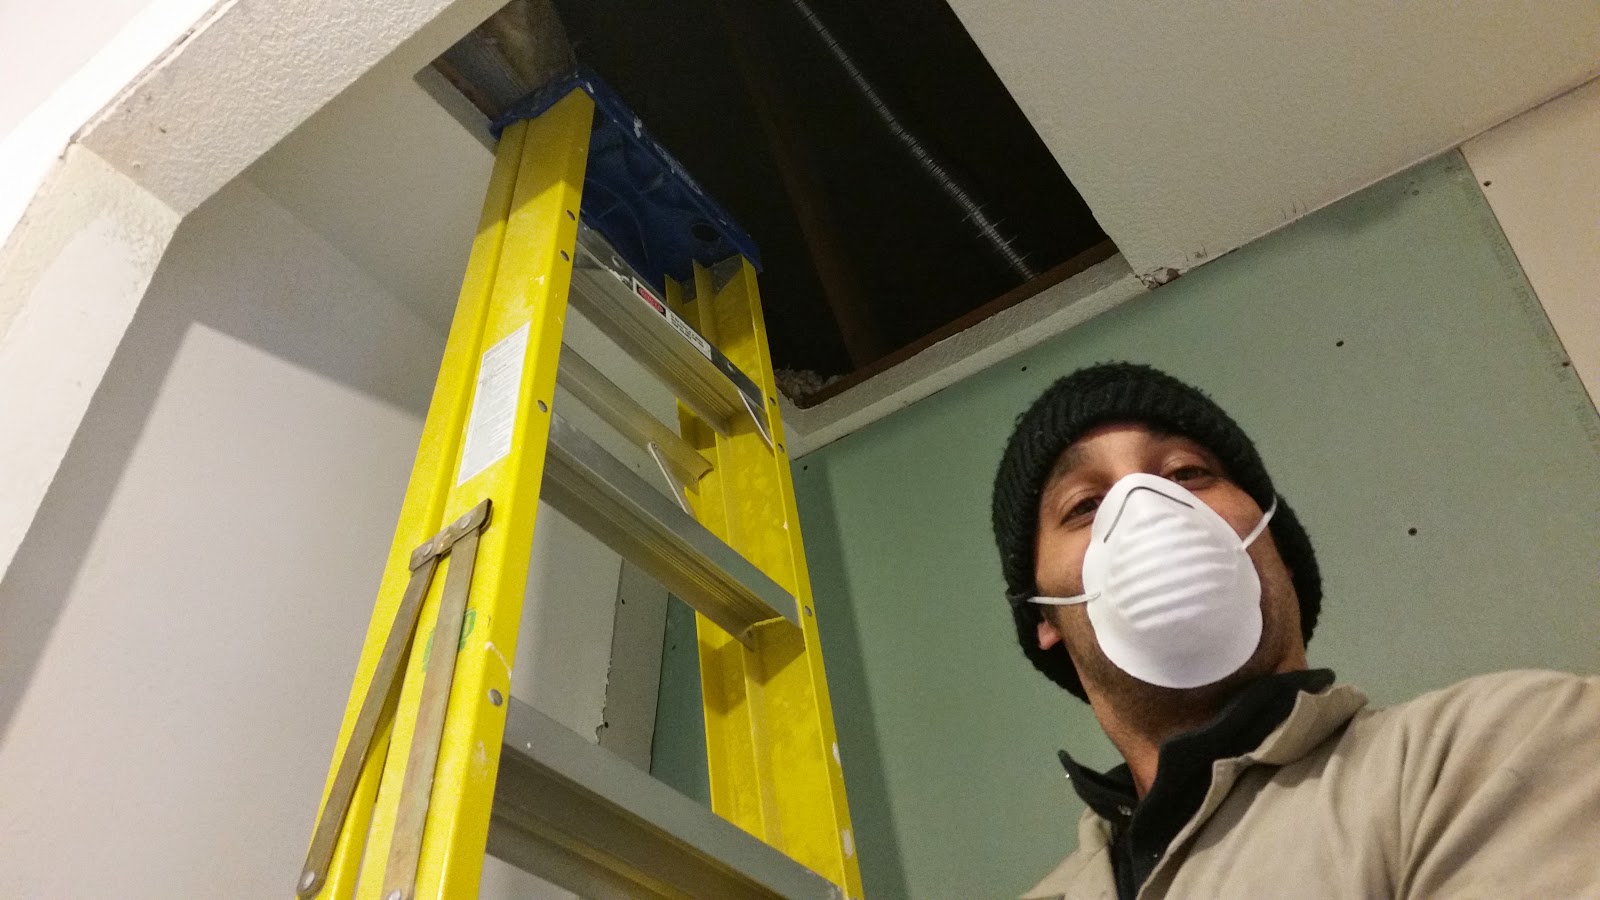
Mike preparing to climb into our attic space.

Skim coating the walls - it never ends.
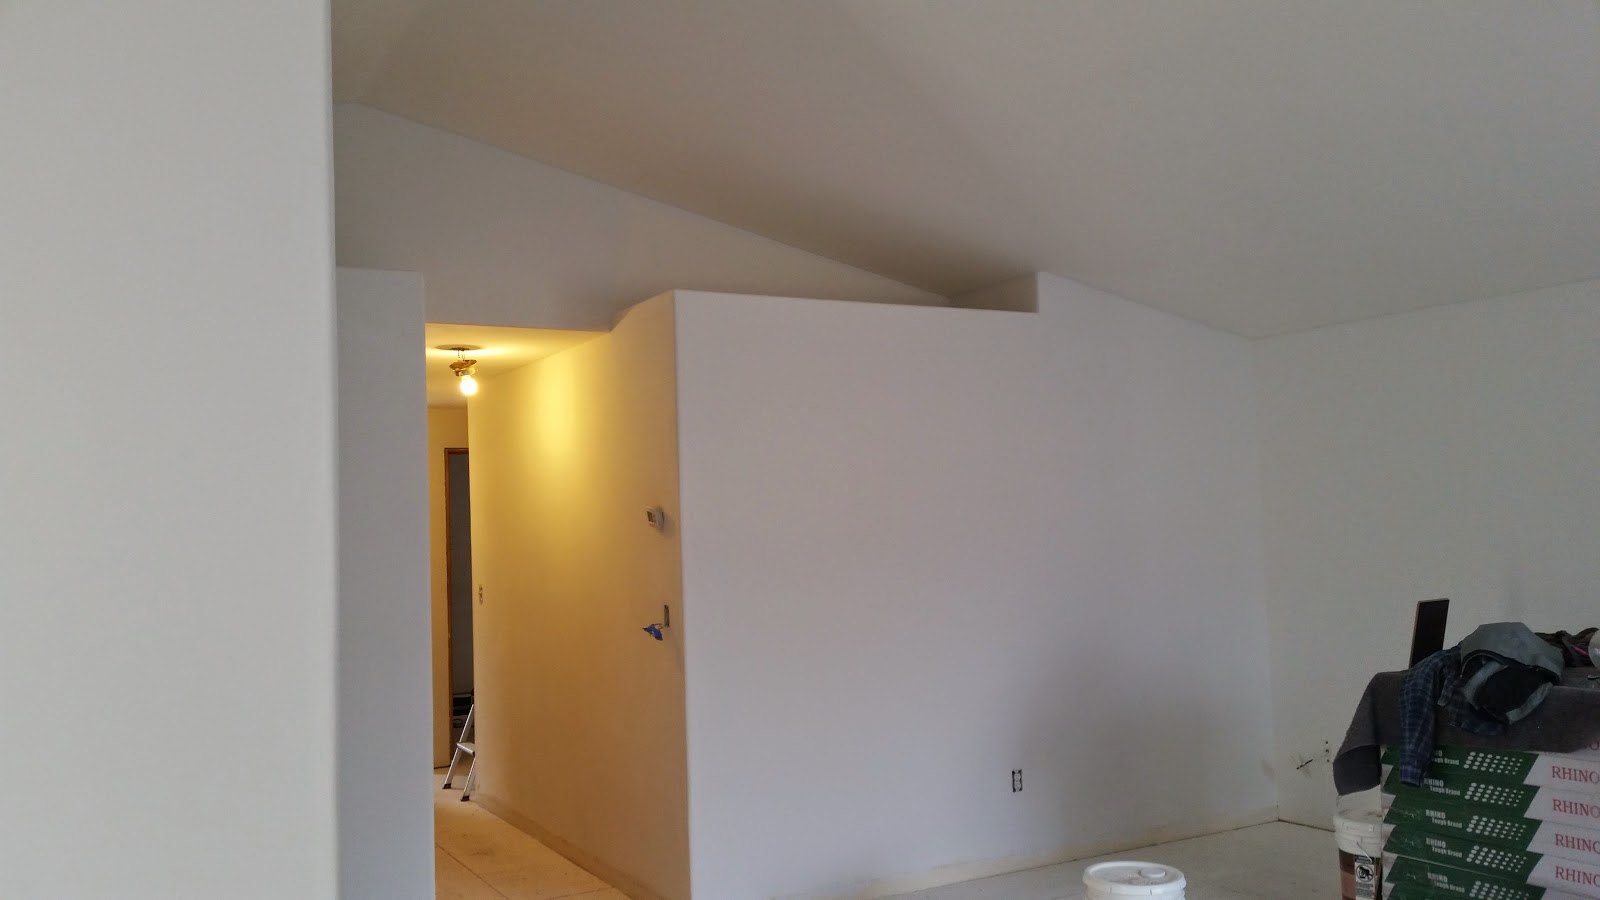
It may not look like it from the pictures, but we are almost done, I swear. OK, OK, we do still have the floors to install, kitchen cabinets, sink, countertops to pour (we're doing concrete), backsplash, paint...and don't even get me started on the yard...but the bulk of the skim coating is done.

It's been a labor of love and/or hate. To give you a price comparison on skim coating, it would have cost us at least $2500 or so, in labor alone, to skim coat all the walls and ceilings. Eek! We did a huge chunk by ourselves, but our friend Dylan is helping us with the final bits, thankfully.

Using power tools to mix compound to the right consistency!

The picture below shows the wall next to the window frame. The farthest right (closest to the wood) is what the walls looked like with one layer of joint compound on them. A little over to the left is with two coats, and the furthest to the left is with three coats and a light sanding. After that, you wipe down/vacuum the walls, primer, caulk the corners and anywhere the walls meet, and then finally, paint.

A section of wall that shows how much work we've done.

Our beautiful, smooth, flat, white walls, ready for paint colors...

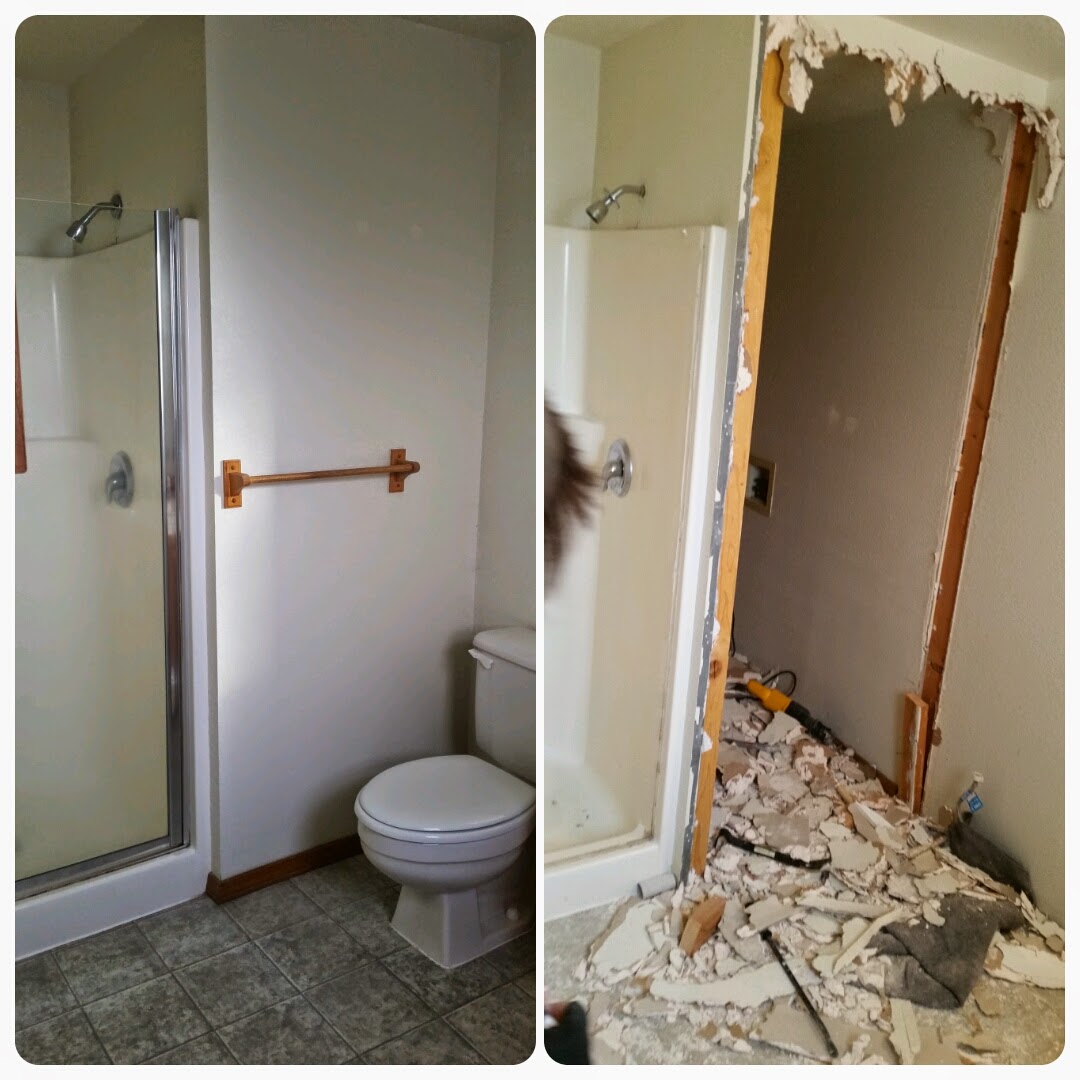
Our other giant project, which we've needed professional help on, is the master bathroom. We spend tons of time hovering and asking questions from the tile guy, plumber, dry wall guys, and the general contractor, to learn as much as we can (so hopefully we can do this ourselves in the future).

The bathroom framed out.

Mike can hang dry wall, move a few electrical switches, and put in insulation, etc, but it's nice to have guidance on the other things, like framing (and things you have to be licensed for). This is also a great way to learn how much things cost, and how much actual labor goes into each step. Spoiler alert: it's a lot. Pay those guys.

The master bath with some of the insulation and drywall/tileboard up.

The tile guy, Adin, graciously let me lay the first tile!

Tiling the bathroom was super exciting, because we could finally see the light at the end of the tunnel. Once some of the tiles were laid, we were able to envision how gorgeous our brand new bathroom would be! Adin, who owns Artisan Tile and Stone, was our super cool tile guy who was nice enough to tell us what he was doing, every step of the way, so we could do it for ourselves in the kitchen.

The shower with most of the tile in.

The shower shelf/cubby for shampoo and what not.

I picked that awesome hexagon tile above, because my current fascination is bees! I have been following @girlnextdoorhoney on Instagram, and I just love her feed. Anyways the shower cubby is my new favorite thing in the house, because it looks like a little beehive. The soap cubby and the shower floor will have the same tiles - 2" white hexagons. 

Here's a remodeling tip: the two most important rooms in which to invest your remodel money, are the bathroom and the kitchen. This hexagon tile was the most expensive thing we've used so far, at about $7/sq ft (which, if you've researched tiles, is still pretty dang cheap). Try to use your "expensive" stuff in a small visible space, so it "pops" and makes the whole room look expensive. With the bathroom floor, walls, and shower all in the gray tile, the shower floor, the cubbies and our little vertical accent strip of white hexagons will really stand out!

Aside from skim coating (which I got lots of compliments on - yay, add it to my resume), I am also very good at putting together IKEA furniture. So, I tackled this project:

IKEA furniture - gives you a sense of accomplishment once you're done!

...which will eventually be our bathroom vanity. I like to use IKEA for a few things here and there - mix it in with your regular stuff and it's an affordable way to upgrade your look.

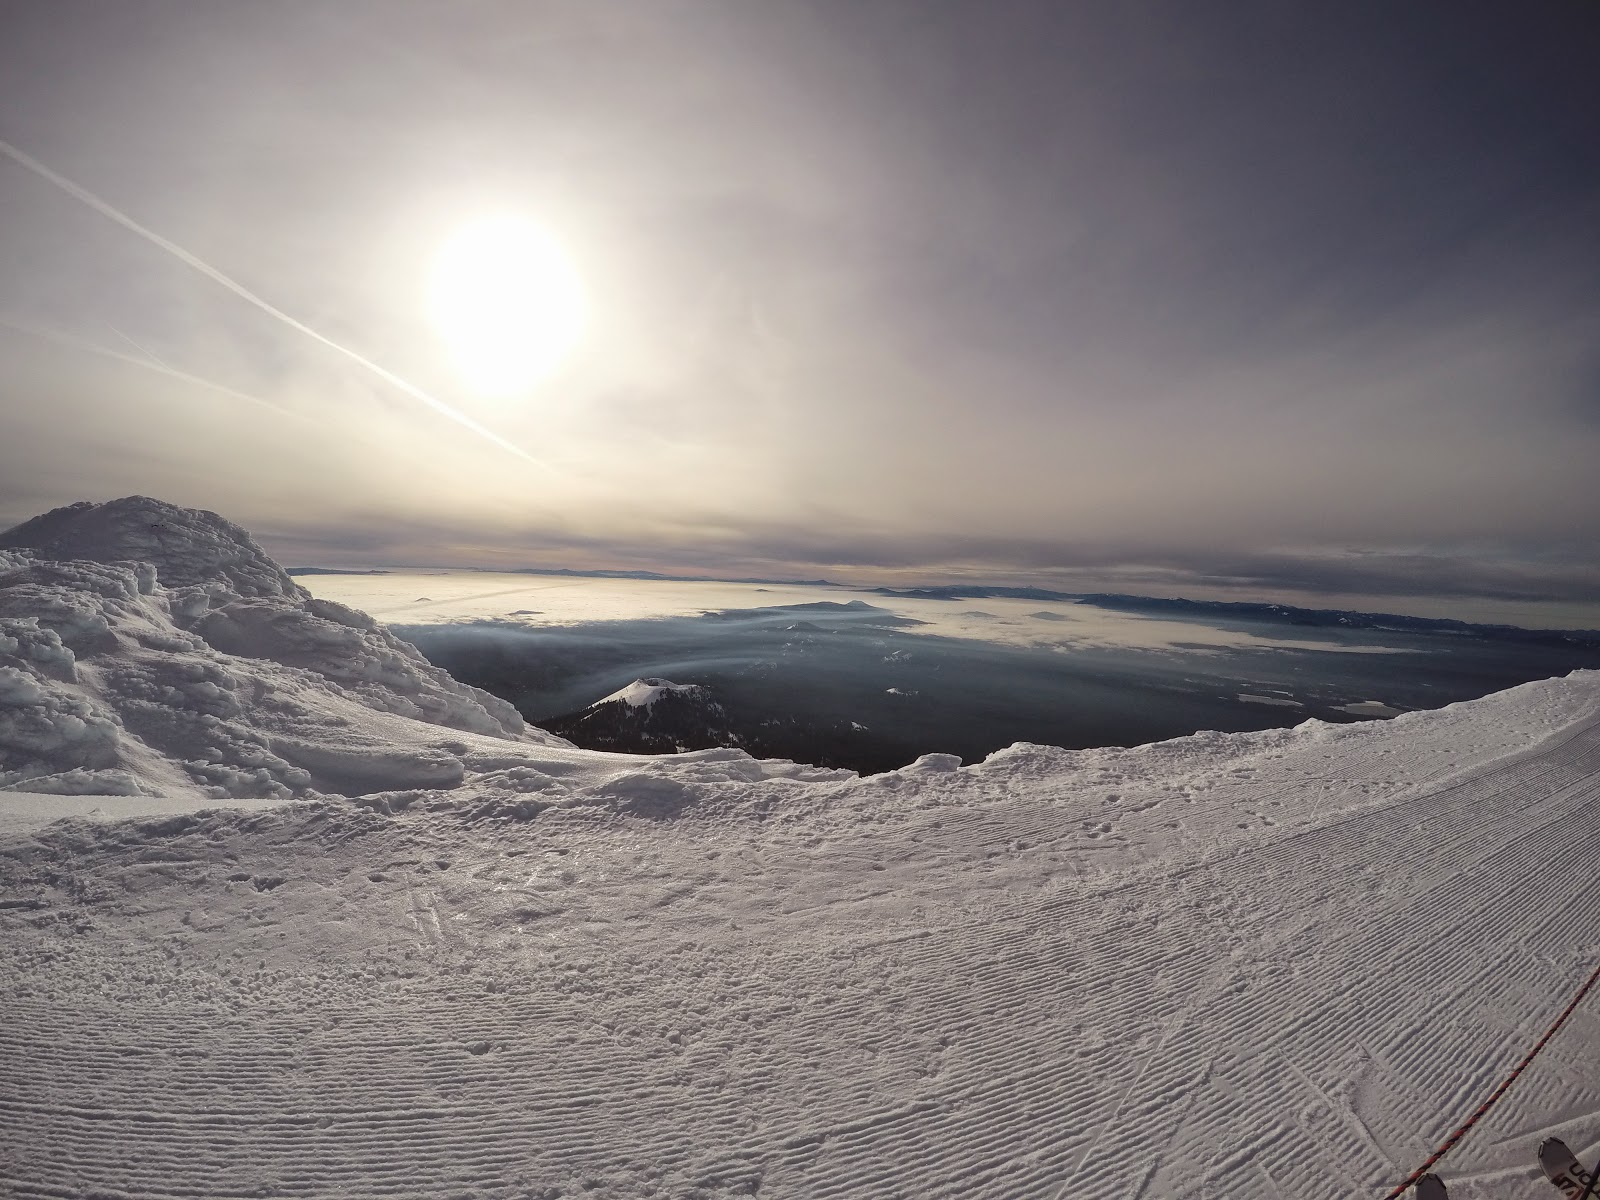
And now, we interrupt our remodel to go on vacation! We are sooo excited to share this vacation with you, so check back next week for a sneak peek!


Can you guess where we're headed?


Thursday, January 15, 2015

Bare Bones

For the last week, we've been demolishing the house for the remodel. It started off innocently, like, "let's paint the cabinets and redo the floors," and turned into a full out gut down to the frame. This is the point when someone would say that perhaps we've bit off more than we could chew. Thankfully, two good friends, Ray and Josh, flew in from LA to help us out.


Together, the four of us got SO much done! With lots of coffee and loud music, we tore that house apart.

this used to be the utility closet and master bathroom.

Me (in the coveralls on the left) and Ray tackling the nasty textured walls.

The dining area and living room area, in the middle of demolition.

After removing the first layer of kitchen linoleum, we found another layer of linoleum, and under that...a layer of particle board, and then the sub floor.  We (and by "we," I mean Mike and Josh) had to use a crowbar and rubber mallet to pry off the upper layer, piece by tiny piece. 


Linoleum was glued on top of linoleum, on top of floor, on top of subfloor.
We took off the kitchen backsplash to find black mold behind it. Ewww! So we had to remove the cabinets to figure out how bad it was, and remove some of the drywall. During the cabinet removal, I was SO relieved to have Josh and Ray there to do the heavy lifting. I imagine if it was just Mike and I, we'd have some injuries, and there'd be quite a bit of yelling.

The black mold behind the kitchen sink. Eeek!

But it wasn't all work! We got in a couple days of play, too. It was so fun to show our friends a little bit of Bend.


hot waxing their snowboards...

A view from the top of Mt Bachelor.

I joined the guys on their last day in town to go snowboarding. It was only my second time on a snowboard, but we took one of the big kids' lifts! I managed to stay upright most of the day, and definitely realized how fun it could be...once I master turning and carving. Hopefully by the end of the season, I'll have it down.

I love this pic, because I look like I know what I'm doing!

Now that the demolition is finished, we're building the house back up, piece by piece. This involves framing out our new utility closet and master bathroom, redoing the plumbing (since we moved things around a bit), and shellac-ing the floors to seal out all those decades of renter pet and child yuckiness.

Mike demonstrating where our new toilet will go!

A peek into our future master bedroom.
It's really cool to see the house completely empty and white - it's like a giant blank slate. I spent 30 minutes just standing in my future office and daydreaming. Sure, it could be the fumes from the shellac, but I think we're going to love our new space!


Sunday, January 4, 2015

New Year, New House!

Mike and I have been living in Bend, on and off while traveling, for 8 months now, and we know that this will be our home for the forseeable future. So, we bought a house! It is a great way to set the tone for this year, since it's a fixer upper.

Houses are much, much less expensive here in Bend than they are in Los Angeles. You can buy a home - like an actual house, with a yard - within the city limits for somewhere between $150K-$300K on the low end. It's close to the downtown area and there's lots of couples like us, families with dogs, and tons of Subarus. It was also the smallest home we could find; there seems to be a trend of huge homes here, like 2000 square feet and up! We wanted one the same size as our loft in Los Angeles - 900 square feet or less. We had to settle on this one, at 1200 square feet. 

Mike about to walk in to our new home!

I like small homes for the intimacy, and the fact that it keeps us from accumulating a bunch of junk. Also, they're more environmentally friendly because they take less to heat/cool and less to maintain. 

My favorite part about this house is that it has a yard and an apple tree! It's pretty gross right now because the former occupants used the yard as a dog run. But we'll get it cleaned up this spring/summer and post some pics. I can't wait to grow our own food.

The house was a rental for 20+ years and as you can imagine, it is used and abused. And it smells like dog pee. The first day after escrow closed, we went and bought floor sealant - we're ripping out all the wall-to-wall carpet and shellac-ing the floors, then putting in dark wood.

Mike standing in the stinky living room.

It has 3 bedrooms and 2 bathrooms, so plenty of room for our guests and family. And like all homes I've lived in my whole life, it has vaulted ceilings, which I just love.

The house was built in the early 90s and I'm pretty sure not a thing has been changed since then. In fact, during escrow, the furnace finally died and the seller had to replace it. Lucky break for us!

The totally 90s kitchen with the original appliances.

Since I love to cook, I'll be installing a gas stove in the kitchen, among other things. And we'll be redoing the whole kitchen ourselves. I'll be sure to post about our successes and failures/learning experiences along the way, of which I imagine there will be many...I've never done a single remodel or construction project in my life, other than painting a wall. Thankfully, there's always Mike and Google.

Getting down and dirty, pulling off the baseboards.

The very first night, we were so excited, we started pulling off all the baseboards. I'm obsessed with getting rid of the floors (and the smell) ASAP. Luckily, we don't have to live here while we're renovating, assuming we can get it done in the next 7 weeks...HA.

One of my first projects today was to get rid of the disgusting texture on the walls. Seriously, who takes a perfectly good wall and then ruins it with texture?! It boggles my mind. 

This is known as "splatter knockdown," and it is horrid.

So you have 3 choices with textured walls -  remove the wall and get new drywall, live with it, or go through the awful, time consuming and labor intensive process of covering it up. We're going with option #3, after hours of watching YouTube videos like this and this.

Those videos weren't kidding because the process sucks. You're basically filling in the dents with plaster. This is the wall after 1 coat of joint compound. 2-3 more coats to go, then sanding...

Honestly, this is much improved. I have hopes for the next 2 coats!

There are lots of things that Mike and I do together, that could be considered really good relationship training. Obviously, there's travel and road trips, which will for sure test your communication and patience. And then there's remodeling. It's a whole other beast. We're learning that it's best if he works on one job, and I work on another. Then you can encourage each other and compliment a job well done...allowing each individual to get that job done however they want (and without supervising). In other words, just let a person do the damn thing. It's all the same at the end. That's my relationship advice, anyway.

So while I was finessing the textured walls, Mike was making a bunch of noise, blasting his music, and using his tools in the most manly way possible. Before and after shots of our master bath:

Removed the dated vanity, toilet, and all the fixtures.

We're completely gutting the bathroom. Yes, this is a very ambitious undertaking for two people with very little renovation experience. What can I say, we love learning new things!

Mike knocked down the wall in the bathroom to reclaim this weird, underused back space in the utility closet. That new space will be a larger, rectangular walk-in shower that extends to the vanity. The former shower space will be the toilet alcove.

got a little shot of his hair in the "after" photo, whoops!

Not a bad day's work! Now we just need to find a plumber...